Crispy Sweet and Sour Chicken Better Than Takeout
If there’s one dish that defines classic takeout, it’s the irresistible sweet and sour chicken. That combination of crispy, crunchy chicken nuggets smothered in a glossy, vibrant, and tangy sauce is a favorite for a reason.
Today, we’re going to skip the delivery apps and make a version at home that is fresher, crispier, and so much more delicious.
This recipe is all about achieving that perfect texture and a sauce that is perfectly balanced. We’ll be giving bite-sized pieces of chicken a light, crispy coating and frying them to golden-brown perfection.
The real star, however, is the homemade sweet and sour sauce. It’s a simple combination of pineapple juice, vinegar, and soy sauce that we’ll thicken into a beautiful, glistening glaze, completely free of any artificial red dyes.
This is a fun, satisfying meal that the whole family will love. Let’s create a takeout classic that’s truly a cut above the rest.
Quick Recipe Snapshot
Here’s a quick look at the timeline for this incredibly popular and easy dish.
| Prep time | Cook time | Total time | Yield | Skill level | Spice level |
|---|---|---|---|---|---|
| 20 minutes | 15-20 minutes | 40 minutes | 4 servings | Easy | Mild |
Ingredients
This recipe uses simple pantry staples to create a crispy coating and a perfectly balanced sauce.
For the Crispy Chicken:
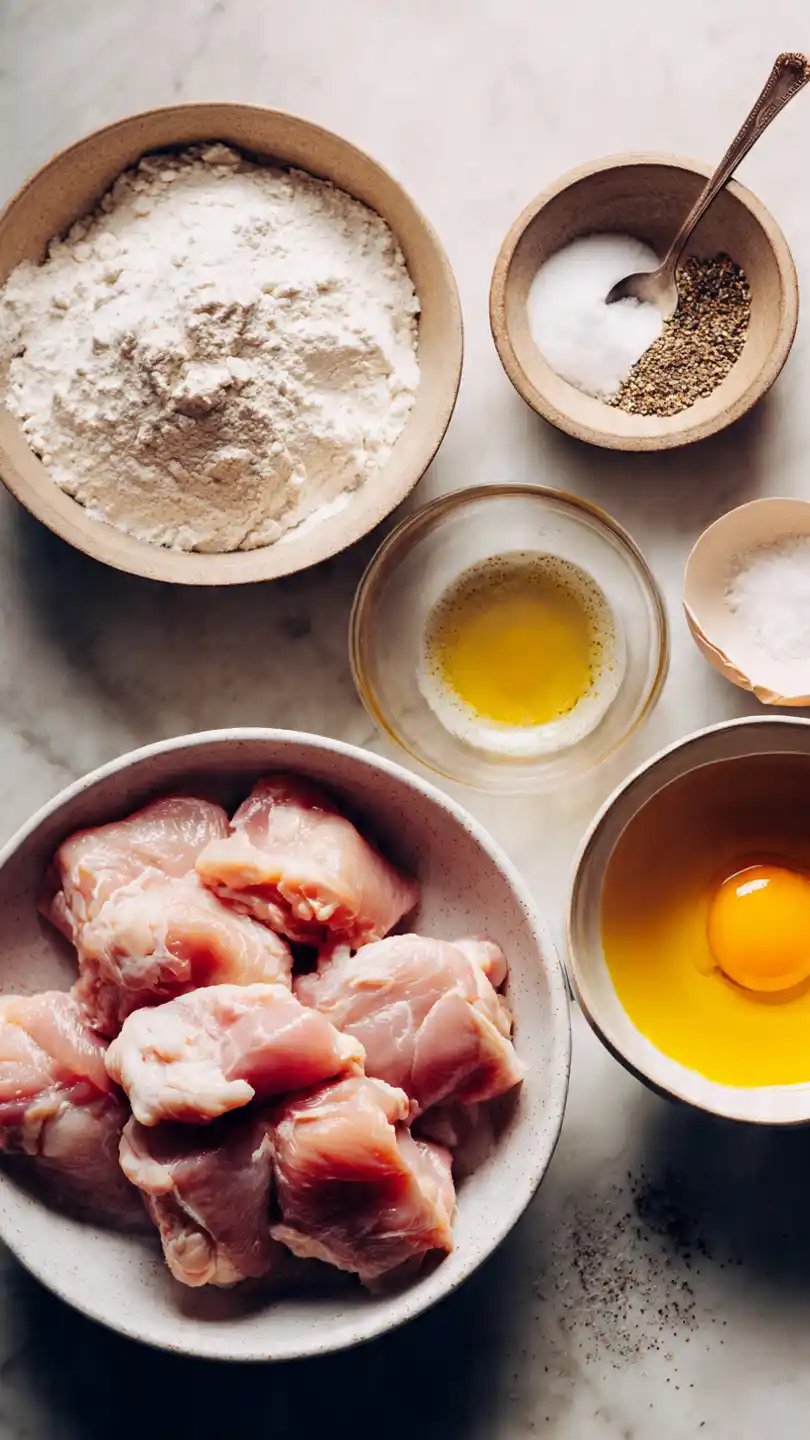
- Boneless, Skinless Chicken Breasts or Thighs: 1.5 lbs, cut into 1-inch chunks.
- 2 servings: ¾ lb
- 4 servings: 1.5 lbs
- For the Coating:
- Cornstarch: ½ cup. This is the secret to a light, crispy, and gluten-free coating. You can use cornflour as well.
- Egg: 1 large, beaten.
- Salt and White Pepper: ½ tsp each.
- Neutral Oil, for frying: About 2-3 cups (e.g., canola, vegetable, or peanut oil).
For the Sweet and Sour Sauce:
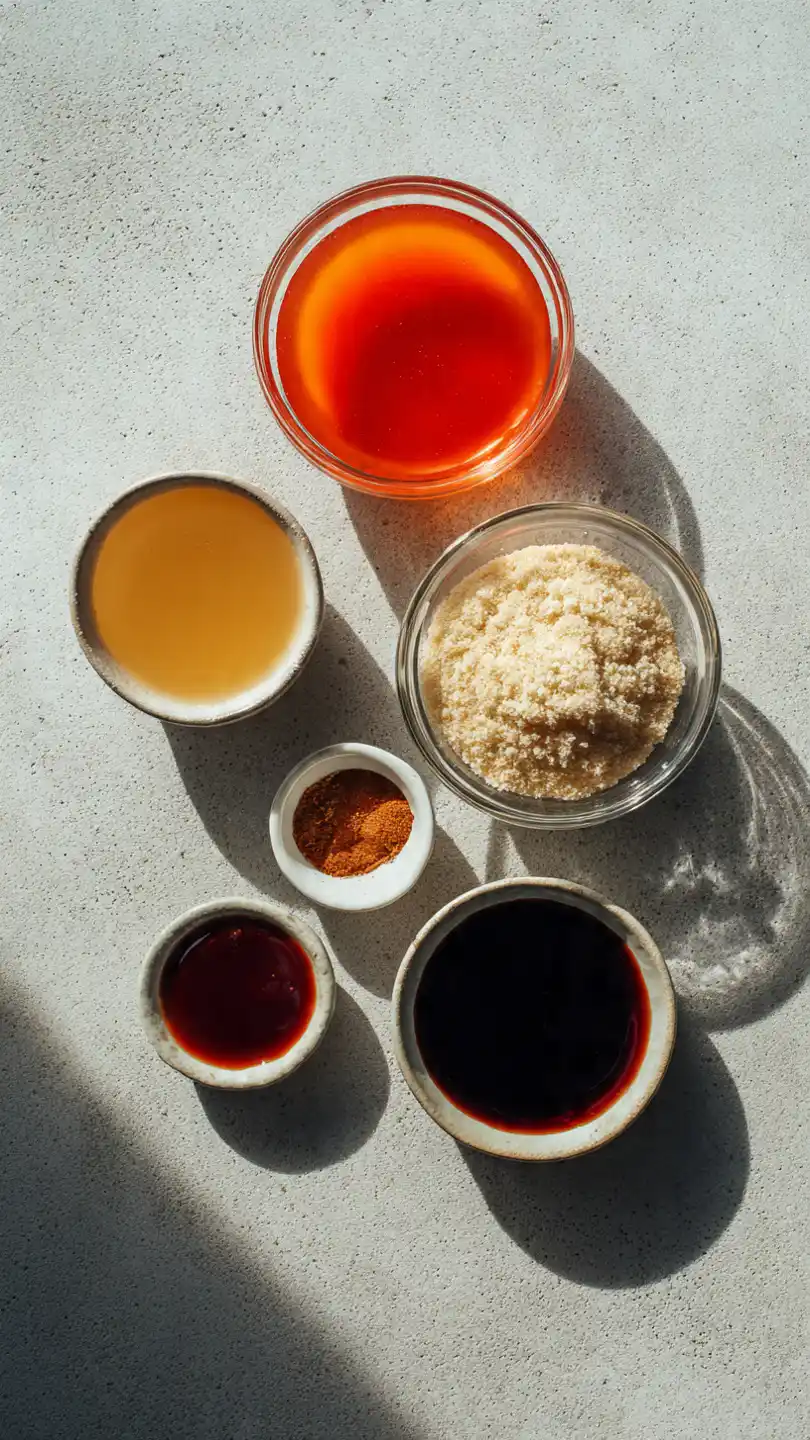
- Pineapple Juice: ½ cup, from a can of pineapple chunks is perfect.
- Rice Vinegar: ¼ cup.
- Brown Sugar: ¼ cup, packed.
- Ketchup: 3 tbsp.
- Soy Sauce: 2 tbsp, low-sodium.
- Cornstarch Slurry: 1 tbsp cornstarch mixed with 2 tbsp cold water.
For the Stir-fry (Optional):

- Bell Pepper: 1, any color, cut into 1-inch chunks.
- Onion: 1 small, cut into chunks.
- Pineapple Chunks: 1 cup (from the can).
The Flavor Architects A Look at the Ingredients
- Cornstarch (for coating): This is the key to achieving that signature light, crisp, and slightly chewy texture found in restaurant-style sweet and sour chicken. It creates a much crispier crust than flour.
- Pineapple Juice: This is the fruity, sweet, and slightly tangy base of our sauce. Using the juice from canned pineapple is a great shortcut.
- Rice Vinegar: This provides the essential “sour” element. It has a milder, less harsh acidity than white vinegar, which is perfect for this sauce.
- Ketchup: A secret weapon in many sweet and sour sauces, ketchup adds color, a little sweetness, and a savory, umami-rich tomato flavor.
- Cornstarch Slurry: This is what transforms the thin sauce ingredients into a thick, glossy glaze that perfectly coats the crispy chicken.
Essential Tools
A few key pieces of equipment are helpful for frying and stir-frying.
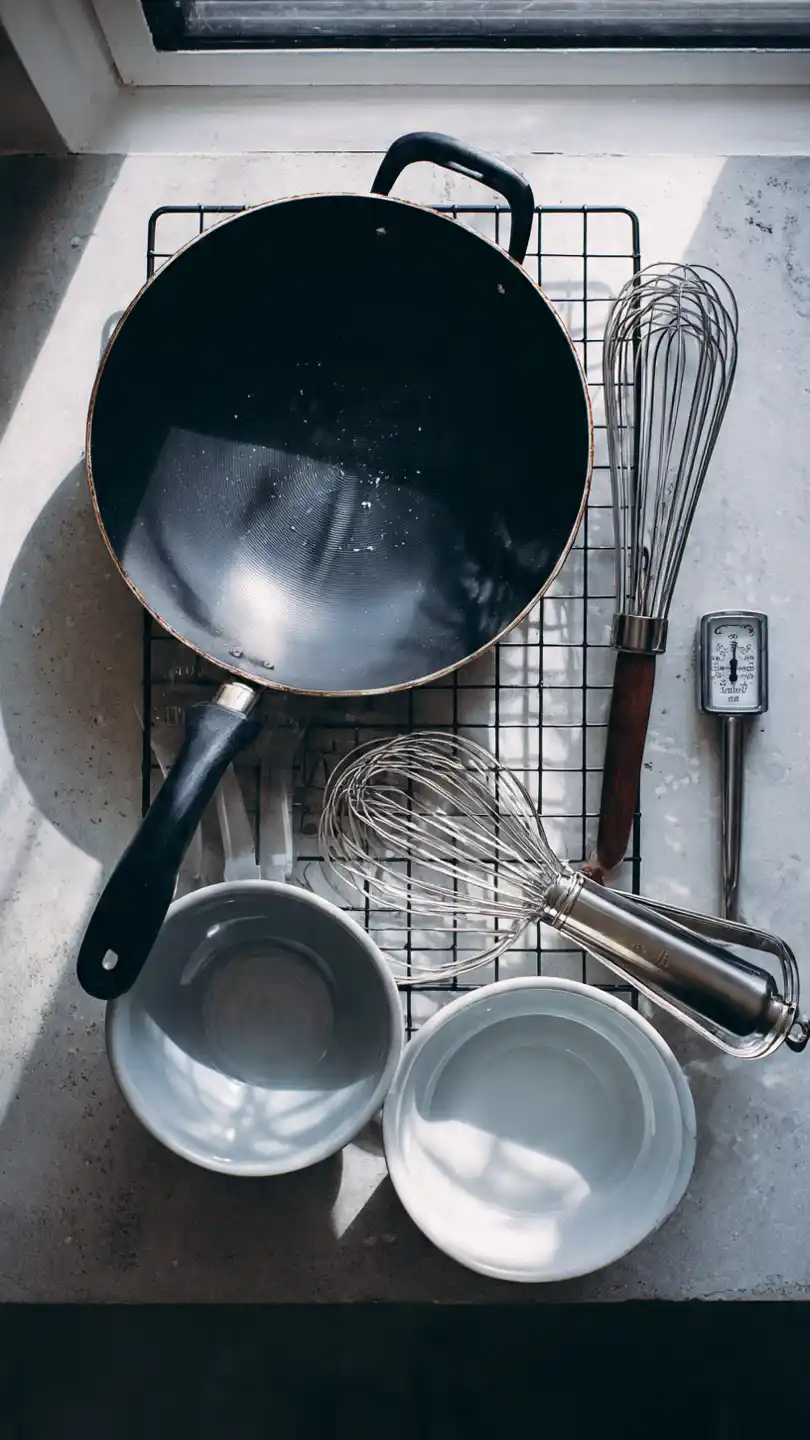
- Large wok or a deep, heavy-bottomed skillet
- Kitchen thermometer (recommended for frying)
- Slotted spoon or spider strainer
- Wire cooling rack
- Whisk and various mixing bowls
Cooking Instructions
This restaurant-style meal is a simple process of frying the chicken and then bringing everything together in a quick, glossy sauce.
Step 1: Prepare the Chicken and Sauce
First, pat your chicken chunks completely dry with paper towels. In a medium bowl, whisk the egg. Add the chicken chunks and toss to coat.
In a separate shallow dish or a large ziplock bag, combine the cornstarch, salt, and white pepper. Working in batches, take the egg-coated chicken and dredge it in the cornstarch mixture, shaking off any excess.
Make sure each piece is lightly but completely coated. While the chicken rests, prepare your sauce. In a small bowl, whisk together the pineapple juice, rice vinegar, brown sugar, ketchup, and soy sauce until the sugar is dissolved.
Step 2: Fry the Chicken to Crispy Perfection
In your large wok or deep skillet, pour in about 1-2 inches of neutral oil. Heat the oil over medium-high heat until it reaches 350°F (175°C).
Carefully add half of the coated chicken to the hot oil in a single layer, being careful not to overcrowd the pan. Fry for 4-6 minutes, turning the pieces occasionally, until they are a beautiful light golden-brown and cooked through.
Use a slotted spoon to remove the crispy chicken to a wire rack to drain. Repeat with the second batch of chicken.
Step 3: Stir-fry the Vegetables and Thicken the Sauce
If you are using them, carefully drain all but about one tablespoon of the hot oil from the wok. Return the wok to medium-high heat.
Add the chunks of bell pepper and onion and stir-fry for 2-3 minutes until they are crisp-tender. Pour in the prepared sweet and sour sauce mixture and bring it to a lively simmer.
Give your cornstarch slurry a quick stir, then pour it into the simmering sauce, whisking constantly. The sauce will bubble and thicken into a beautiful, glossy glaze in about 30-60 seconds.
Step 4: The Final Toss
Once the sauce is thick and glossy, turn off the heat. Add the crispy fried chicken and the pineapple chunks to the wok.
Gently toss everything together until the chicken, vegetables, and pineapple are all evenly and beautifully coated in the sweet and sour glaze.
It’s important to do this off the heat to ensure the chicken stays as crispy as possible. Serve immediately over hot, fluffy rice.
Recipe Variations
This classic recipe is a great starting point for your own delicious twists.
- Make it Spicy: For a spicy sweet and sour chicken, add 1-2 teaspoons of sriracha or a ½ teaspoon of red pepper flakes to the sauce along with the other ingredients.
- Protein Swaps: This recipe is also fantastic with pork or shrimp. For pork, use 1-inch cubes of pork loin. For shrimp, use large, peeled shrimp. Adjust the frying time accordingly (shrimp will cook much faster).
- Baked Version: For a healthier, baked sweet and sour chicken, coat the chicken as directed. Place it on a wire rack on a baking sheet and spray generously with cooking spray. Bake at 400°F (200°C) for 15-20 minutes, until golden and cooked through. Thicken the sauce in a saucepan on the stove and toss together.
Serving Suggestions
This classic dish is a perfect centerpiece for a simple, satisfying meal.
- Steamed Rice: Serving sweet and sour chicken over a bed of fluffy white jasmine rice is the classic and perfect pairing.
- Garnishes: Garnish with a sprinkle of toasted sesame seeds and some thinly sliced scallions for a pop of color and fresh flavor.
- Simple Sides: A side of simple steamed broccoli or sautéed green beans complements the meal perfectly.
Storage & Reheating Tips
The chicken will lose its crispiness once sauced, but leftovers are still delicious.
- Storage: Store any leftovers in an airtight container in the refrigerator for up to 3 days.
- Reheating: Reheat gently in the microwave or in a skillet over medium-low heat until warmed through. The coating will be soft, not crispy, but still very flavorful.
Common Mistakes & Fixes
| Mistake | Fix |
|---|---|
| My chicken coating is soggy, not crispy. | Your oil was not hot enough, or you overcrowded the pan. It’s important to use a thermometer to maintain the oil at 350°F and to always fry in batches to keep the temperature from dropping. |
| The coating fell off the chicken. | Make sure your chicken is patted dry before you start. The egg wash should help the cornstarch adhere. Also, don’t stir the chicken too aggressively during the first minute of frying; let the crust set first. |
| My sauce is too thin or watery. | You may have forgotten the cornstarch slurry, or you didn’t let the sauce come to a full simmer after adding it. The cornstarch needs heat to activate and thicken the sauce. |
| The flavor is too sweet or too sour. | This sauce is all about balance. Taste it before you thicken it. If it’s too sweet, add another teaspoon of rice vinegar. If it’s too sour, add another teaspoon of brown sugar. |
FAQs
Can I make this recipe in an air fryer?
Yes, the air fryer is a great way to make a healthier version. Coat the chicken as directed, spray generously with cooking spray, and air fry at 390°F (200°C) for 10-12 minutes, shaking the basket halfway, until golden and cooked through.
While the chicken is cooking, simmer the sauce in a saucepan on the stove until it thickens, then toss everything together.
What is the purpose of the double-fry method I sometimes see?
For an even crispier, restaurant-level crunch, you can double-fry the chicken. Fry it for about 3-4 minutes in the first batch.
Remove all the chicken, then increase the oil temperature to 375°F (190°C) and fry it all again for just 1-2 minutes until it’s a deep golden-brown. This drives out extra moisture and creates an ultra-crispy crust.
Can I prepare components of this dish ahead of time?
Yes. You can chop your vegetables and mix the sauce ingredients (but don’t add the cornstarch slurry yet) ahead of time.
Store them in airtight containers in the fridge. For the best crispy results, the chicken should be coated and fried right before you plan to serve the meal.
Enjoy Your Takeout Favorite at Home!
You are now ready to make a sweet and sour chicken that will rival your favorite Chinese restaurant.
The combination of that light, crispy chicken and the perfectly balanced sweet and tangy glaze is truly a treat.
I hope you and your family absolutely love this classic dish!